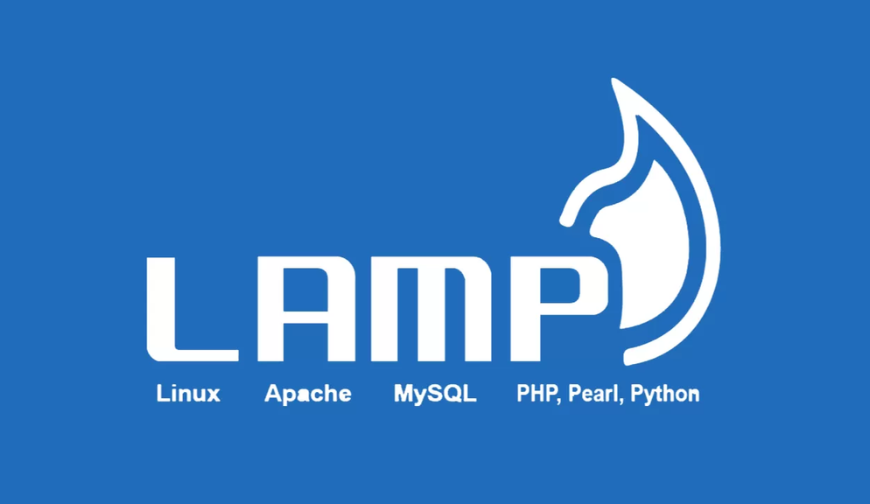
Skip navigation.

7 Easy Steps To Play Music And Video In Fedora 8

How to play music and video(MP3, MPEG, AVI, FLV and other multimedia files) in Fedora 8?

Due to patent encumbrance codecs required to play some proprietary file formats are not shipped with Fedora 8. Codecs are the programs that encode and decode digital data. These codecs are available in the livna repository for Fedora 8. You will be able to play mpeg, mp3, avi, flv and other commonly used file formats for music and video. You will require an Internet connection to download and install these packages on your computer.

If you are using Fedora 7 proceed to this blog post.

Let us get started. Are you ready?

How To Create A Password Protected Zip Archive

In my previous post we discussed how to create and extract ZIP archives. This post will teach you how to password protect your ZIP archives. While creating a ZIP archive, optionally, you can encrypt its contents using a password. Take advantage of this option to secure your ZIP archives. This tutorial is short and easy to learn.

How to password protect ZIP archives?

Let us assume we have two text files - abc.txt and xyz.txt in the present working directory.

[sudheer@localhost zip]$ ls
abc.txt  xyz.txt

Let us now create newarchive.zip and encrypt its contents with a password. The syntax is:

zip archivefilename file1, file2, ... -e

where

  • zip is the command
  • archivefilename is the name of the ZIP archive to be created
  • file, file2, ... are list of files to be included in the archive
  • -e is the option that tells ZIP to encrypt the contents using a password typed in the terminal in response to a prompt

12 Red Hat/Fedora/CentOS And Ubuntu Cross Reference Commands And Configuration Files

  • Have you used Fedora/Red Hat/CentOS before and looking for equivalent commands in Ubuntu?
  • Are you a Fedora/Red Hat/CentOS user looking for configuration files location in Ubuntu?
  • Vice-versa?

If you answered yes to any of the above, read on. I am trying to help you start using Ubuntu without much Googling.

This post provides a brief introduction on available Fedora/Red Hat/CentOS equivalent commands in Ubuntu. This will also be handy for Ubuntu users that have delved into the Red Hat/Fedora/CentOS world.

Creating and Extracting ZIP Archives With Zip and Unzip

In this article you will learn how to create ZIP archives, list, test and extract them. After reading this article you will know how to manipulate ZIP archives on GNU/Linux systems. We already know that zip works well with tar from the Using TAR Command post. Let us discuss how to work with zip and unzip.

How to create a ZIP archive?

I believe learning by example is the easiest way. Let me walk you through an example straightaway. Let us assume we have two files - abc.txt and xyz.txt in the current working directory.

Using TAR Command

So, you've got a tarball and want to know how to extract it, huh?

tar archiveSome background info about tar: In the olden days, people primarily used tape devices to store and retrieve data. Tape drives still exist and folks use them to archive data. The name tar is derived from from tape archive. The name of the program that creates and extracts tar files also has the same name - tar. Tarball refers to the archive file. They usually have the extension filename.tar.gz.

Extracting tar files with extension .tar.gz: To extract a tar.gz file use the below command. Assuming you have a tarball by name archived-file.tar.gz:

tar -zxvf archived-file.tar.gz

In the above command the options have the following meaning.

  • z - filter the archive through gzip. gzip aka GNU Zip is a program used to compress files. When you use -z option, gzip will be used in tandem with tar.
  • x - extract files from an archive. Pretty self explanatory, huh?
  • v - verbosely list files processed. The -v option prints information on the screen when the files are being extracted from the archive. If you do not use this option, tar still extracts files silently.
  • f - use archive file. This option tells tar to extract from a file. The -f switch is required.

Things To Do After Installing Fedora

Everybody has their own personal preferences in all walks of life. Desktop computer is no different. Every time I install Fedora, I immediately change few settings. The default settings in some applications may not appeal to every body. They certainly don't, for me at least. I will not discuss configuring network, Internet, printer, audio and video drivers in this post because they are more of necessity than personal preferences. Here goes the list.

Nautilus: The first time you open nautilus(aka File Manager), you will notice each folder opening in different windows. Click on your home folder icon on the desktop and click on few other folders. Your desktop looks clumsy with a whole slew of unwanted windows. The fix:

1. Open File Management Preferences. Click System>Preferences>Personal>File Management. You can also open it by launching a nautilus window and then clicking on Edit and then Preferences.
2. Click the Behavior tab on the File Management Preferences window.
3. Select "Single click to open items"
4. Select "Always open in browser windows"
5. Click close

This solves one major headache.

Using A Graphical FTP Client

FTP is an acronym that stands for File Transfer Protocol. As the name suggests, FTP is used to transfer data from one computer to another over Internet or through a network. By default, FTP servers listen on port 21 for incoming connections from FTP clients.

An FTP client is a program that allows you to easily move files from your computer to FTP server.

For example, FTP can used to upload Web page files. Those files are normally created on a author's computer and then uploaded to a Web server.

ImageMagick

ImageMagick is a software suite used for image manipulation and display, supporting many image formats. ImageMagick software mainly uses command line interface for image manipulation. You can use this software to do tasks such as rotate, scale, resize, flip, shear, display and many more. You can do the image manipulation job much faster using command line interface and it is easier to use.

Now, I will walk you through the steps to install ImageMagick software suite. I assume you are running Fedora 8 on your computer.

1. Launch the terminal by clicking

Remote Desktop

Remote Desktop, a software included with Fedora, enables you to connect to remote computer over the internet. Remote desktop will allow you to see and control your connected PC as though you were sitting directly in front of it. In this post, I will discuss how to set up remote desktop on Fedora 7. Here, I will refer to local system as “my computer” and other as “remote computer”. The connection will be established over TCP port 5900. Before you proceed, make sure that the port is not blocked by a firewall. I will walk you through the steps to set up remote desktop.

Steps to be performed on "remote computer", i.e., the computer which will be accessed from "my computer":

1. Launch the Remote Desktop Preferences by clicking

System -> Preferences -> Internet and Network -> Remote Desktop

Two Commands To Move Your MySQL Database To A Different Computer

Many popular web applications are written in PHP and use MySQL database. In this post I will describe, how you can move your database to a different computer. Almost all web applications store database and files system information in configuration files. You can actually move your web application to a different server without much hassle by editing few lines in these configuration files. I will write more about the configuration files of web applications in a different post. In this post I will walk you through the steps to move your MySQL database to a different server. The commands will help you move both data and schema.

What do you need to know before moving a database? On both the computers you will require the

  • MySQL database name
  • MySQL username that has access to the database
  • Password for the username that has access to database

You can take a backup of your database in the form of SQL dump and restore it on another server quickly from the Shell. Later in the post we will discuss how you can import and export MySQL databases using a graphical tool.

Launch the terminal. If the server is accessible remotely using SSH you can execute these commands on the secure shell.

Command 1 to generate the backup

mysqldump -u mydatabaseuser -p mydatabase > backup.sql

Syndicate content